![Person taking a passport photo at home with a phone’s camera.]](https://photoaid.com/blog/wp-content/uploads/2023/05/person-taking-their-own-passport-photo.png)


Can you take your own passport photo? Yes, you can.
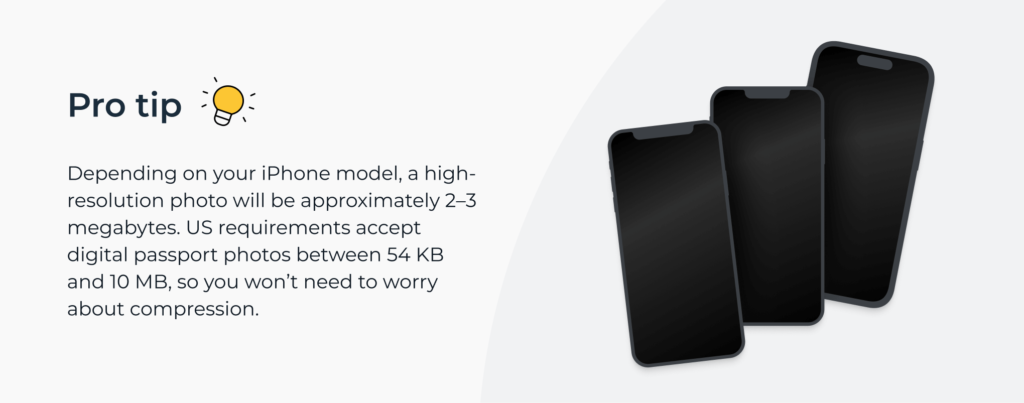
If you can spare a few minutes and your phone’s camera is at least five megapixels (the chances are yours is way more than that), you can take your own DIY passport photo with ease.
This guide explains how to do it.
Get a compliant passport photo in 3 minutes with PhotoAiD’s passport photo maker.
- Upload or take a photo.
- Let the PhotoAid Al check and fix it.
- A compliance expert will verify the result.
- Download or order a print. Done!


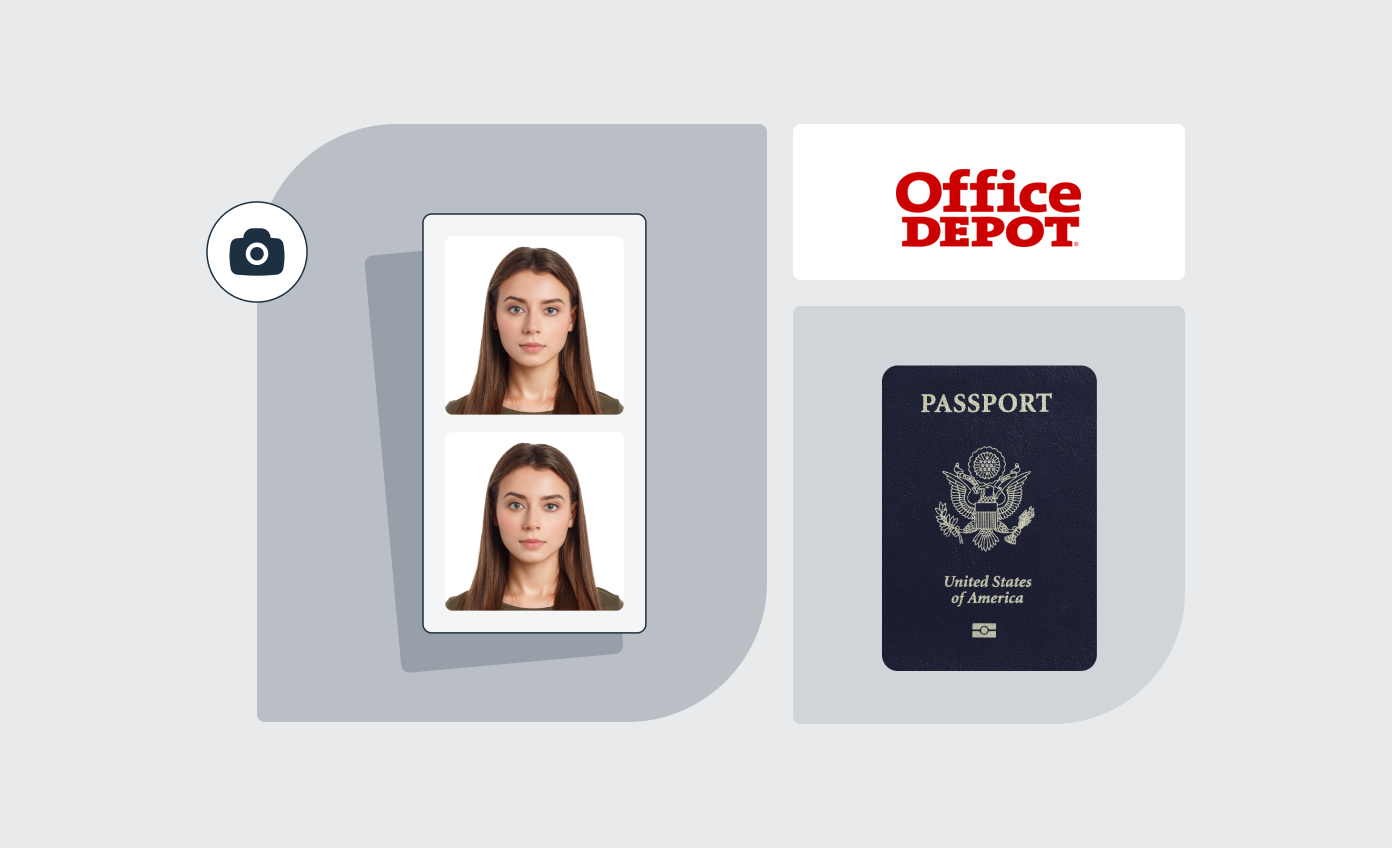
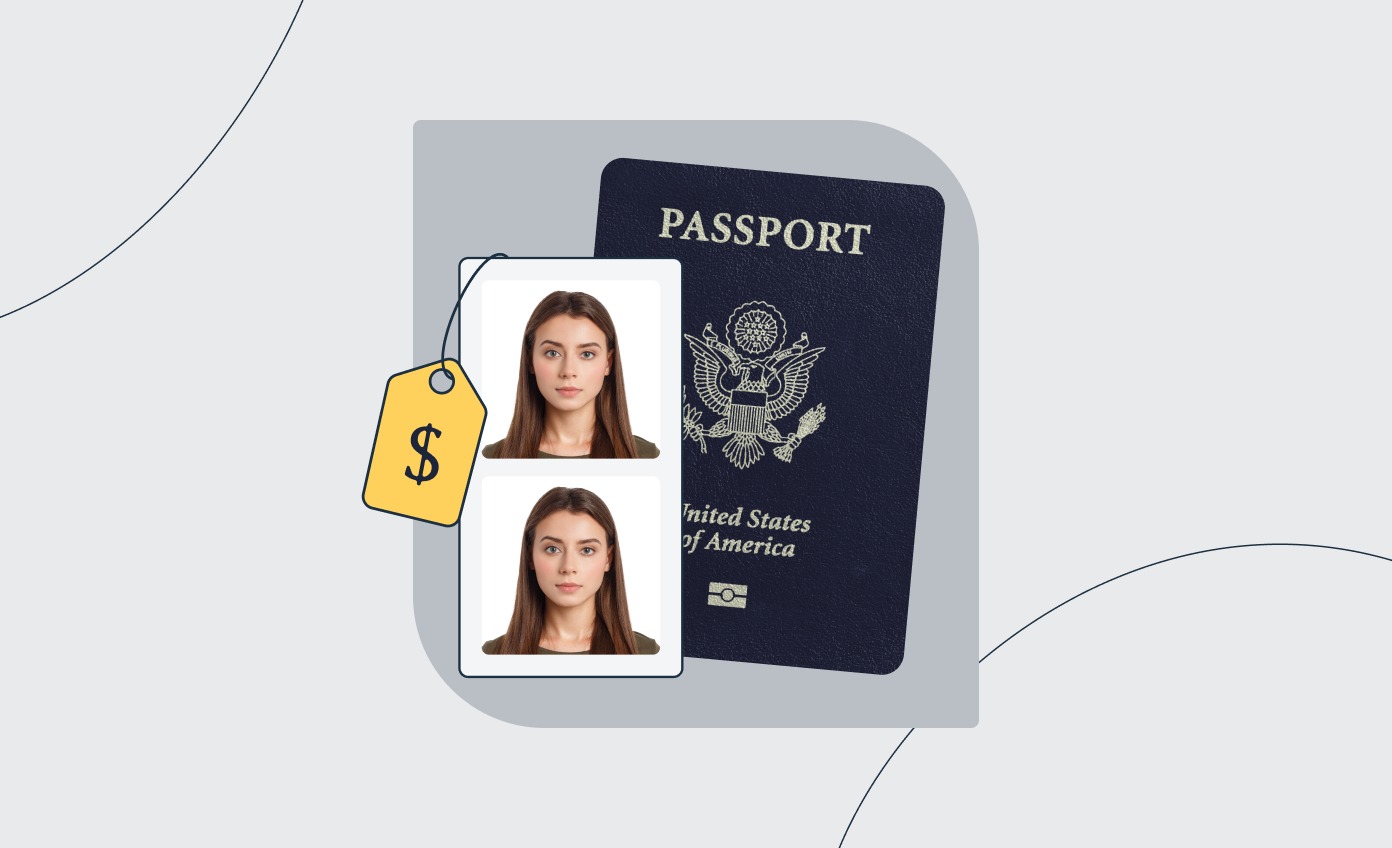
Get a digital passport photo or order prints with help from PhotoAiD®
100% acceptance, expert verified
2x money-back guarantee
3 minutes and done
11,000,000+ happy users
I was pressed for time and couldn’t get hold of a photographer. I found PhotoAiD, took a selfie, uploaded it, and had a compliant passport photo almost instantly. Getting a photo for my baby girl was a breeze, too!
Learn more about passport application:
- How Much Does a Passport Cost?
- What Can I Use Instead of a Birth Certificate for a Passport?
- How to fill out the DS-11 Form
- How Long Does It Take To Get a Passport?
- How to Staple Your Passport Photo [Visual Examples]
Official Rules for Passport Photos
Before you start taking passport photos at home, slow down. Read this section to understand how US passport photo requirements define a passport-quality photo.
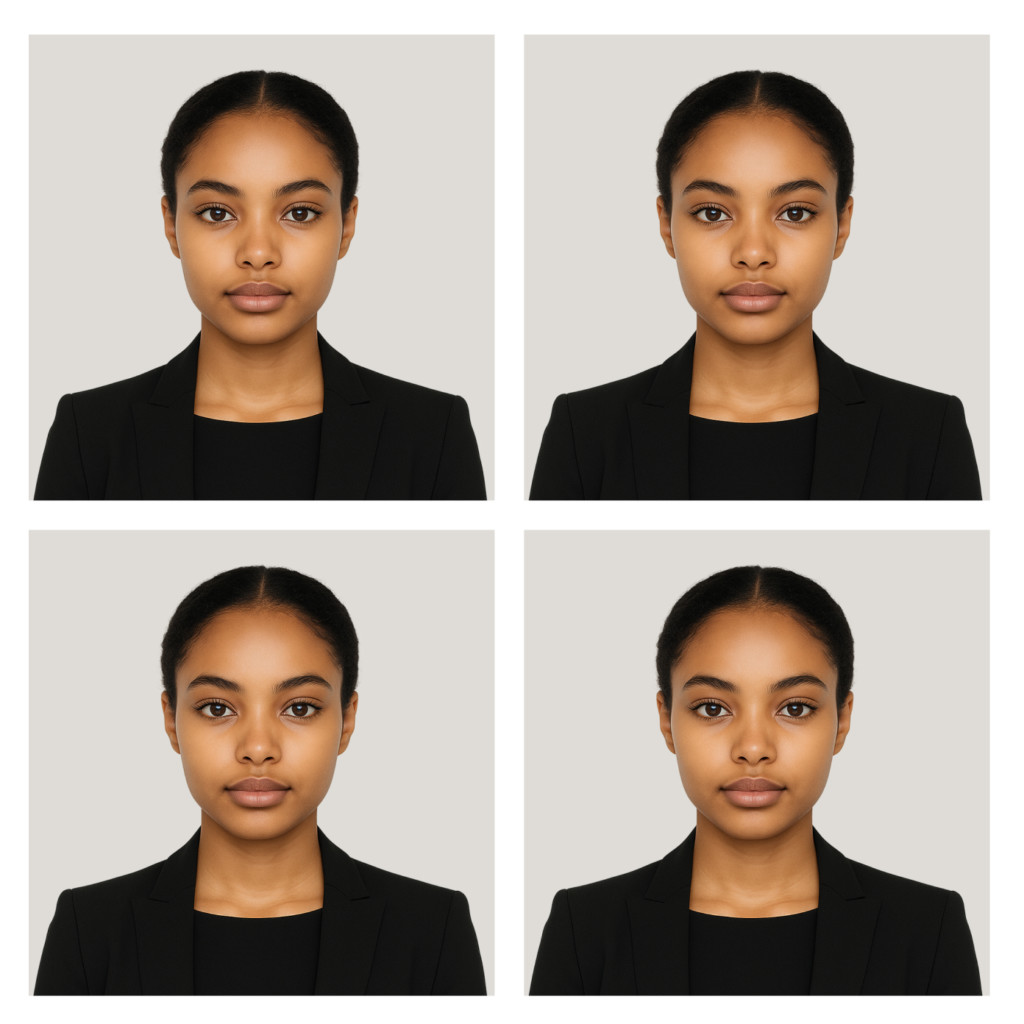
- Size: The photo must be a 2×2 inch square, with the head measuring 1–1.4 inches in height.
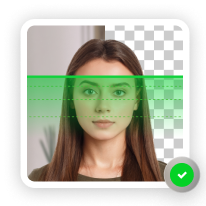
- Position: Your head must be centered, facing the camera directly (your eyes and lens must be at the same level). The top of your shoulders must also be visible.
- Facial expression: You can smile only with your mouth closed. To avoid issues, I suggest gently lifting the corners of your lips, making sure your eyes are fully open.
- Quality: The photo must be free of blur, pixelation, and shadows. Ensure the lighting is even across the whole picture (especially your face).
- Background: The backdrop must be plain white or off-white, without shadows, creases, or other objects visible in the frame.
- Editing: None allowed, including blemish removal (unless done professionally).
- White space: Though not clearly defined, there should be a few millimeters of space from the top edge of the image and your head.
- Prints: Print your passport picture on glossy or matte paper.
Besides the technical aspect, there are some additional passport photo instructions:
- You can wear head coverings only for religious or medical purposes (e.g., after surgery). Hair accessories are acceptable only in one case: If your bangs cover the eyebrows or eyes, you can pin them with a small bobby pin.
- The passport photo dress code is relatively relaxed. You can wear anything that doesn’t have camo patterns, isn’t white, and isn’t a uniform.
- Prescription glasses are no longer accepted in passport and visa photos. You can wear them only if you have a documented medical condition (you’ll need a signed note from your doctor).
- There’s no rule forbidding you to do makeup. However, you mustn’t alter your natural appearance in any way. So, contouring, fake lashes, heavy smokey-eye looks, and the like are a no-go. Avoid shimmers and glossy-finish products—they reflect light, and, in the best-case scenario, you’ll look like a ghost.
- Passport photo hair is also a no-brainer. Any hairstyle is fine if your face, eyebrows, and eyes aren’t obscured.
- Jewelry, such as earrings and necklaces, is acceptable but should be dainty. A thin chain and tiny studs won’t be an issue. If, however, the pieces are “in-your-face” or cause glare, the photo won’t be accepted.
Okay, I know what you’re thinking: She just told me taking a DIY passport photo would be simple, and now there are so many rules to follow…
Don’t worry; it is simple.
Read on to find out how PhotoAiD, our passport photo app, and our photography experts can help you meet all official passport photo guidelines with little effort.
How to Take a Passport-size Photo at Home [4 Steps]
Without further ado, here’s how to take your own passport photo at home:

1. Prepare yourself
No, I don’t mean preparing yourself mentally (although the thought of another ugly passport photo can be scary, it won’t happen).
Start by preparing your passport photo look. Here’s a little checklist:
- Wear plain, dark-colored clothes
- Apply simple makeup (no glossy-finish products, contouring, fake lashes, etc.)
- Avoid head accessories or any other headgear
- Keep your hair off your face (tied or tucked behind the ears)
- Remove glasses
- Avoid bulky or flashy jewelry
All items ticked off? Let’s move on.
2. Setup your camera
Chances are your camera is already set to the highest resolution, but it won’t hurt to double-check it. If you own an iOS device, do the following:
- Go to Settings→Camera→Formats.
- In “Camera Capture,” select “High efficiency.”
- In “Photo Capture,” choose the highest photo mode available.
What about an Android? Open the camera app and locate the resolution settings. On a Samsung Galaxy, you should see them at the top of the screen. Then, select the highest resolution available.
Now—
In theory, you should use the rear camera as it always offers higher resolution. But it’s not a golden rule. For example, my iPhone 15’s selfie camera is 12 MP—more than enough to snap a DIY passport photo!
Important: While it might be tempting to play around with exposure, saturation, contrast, and other editing options, passport photos must be completely unaltered.
3. Take a photo
I bet you think you need box lights, tripods, and a white backdrop, much like in a professional studio. Nothing could be further from the truth—
You can achieve professional results that are ideal for passport-quality photos at home without any gear. Here’s how I took my ID photo recently:
- First, remember to take a photo in daylight; natural light (9 am–1 pm) is ideal.
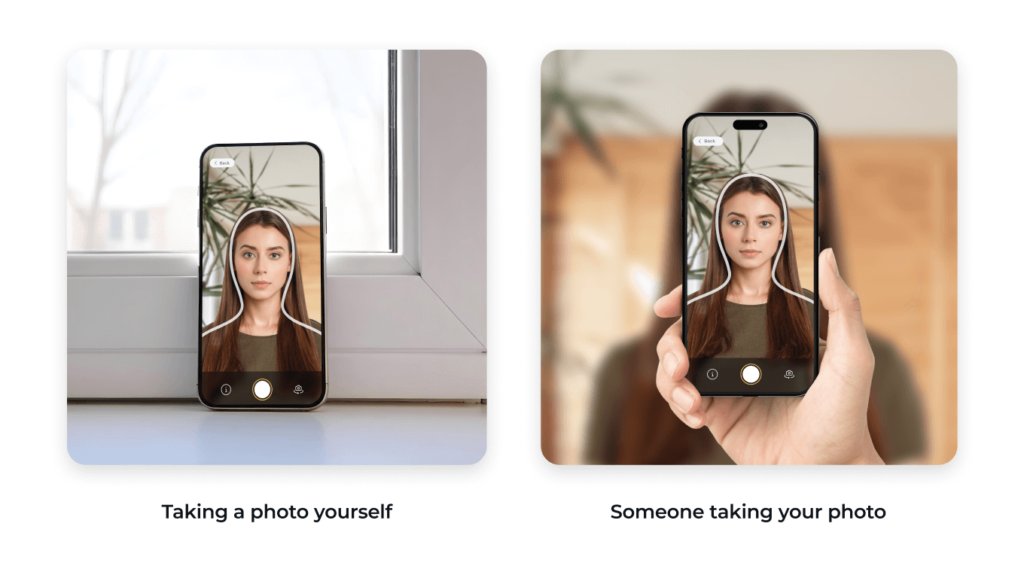
- Place your phone on a window sill and stabilize it to prevent it from tilting. I used a stack of books as support. You can also put the phone on a table in front of a window.
- Sit on a chair or the edge of the bed (like I did). The key is to ensure the camera lens is leveled with your eyes.
- Straighten your soldiers and look directly at the camera. You can smile gently with your mouth closed.
- Set up a timer for 10 seconds and take a few shots. You can also use burst mode (taking several pictures in one go).
And if you have someone to help you? Face the window at around 30 degrees so your photographer won’t cause shadows in your passport photo.
Psst! You can also upload an image with this button; the process is the same:
4. Edit the photo
Now it’s time to crop the photo to the correct 2×2 photo size (not forgetting about head dimensions and white space), erase the backdrop, and ensure all other passport photo guidelines are met.
If you want to do it yourself, try our free photo cropper and background remover.
But here’s the deal—
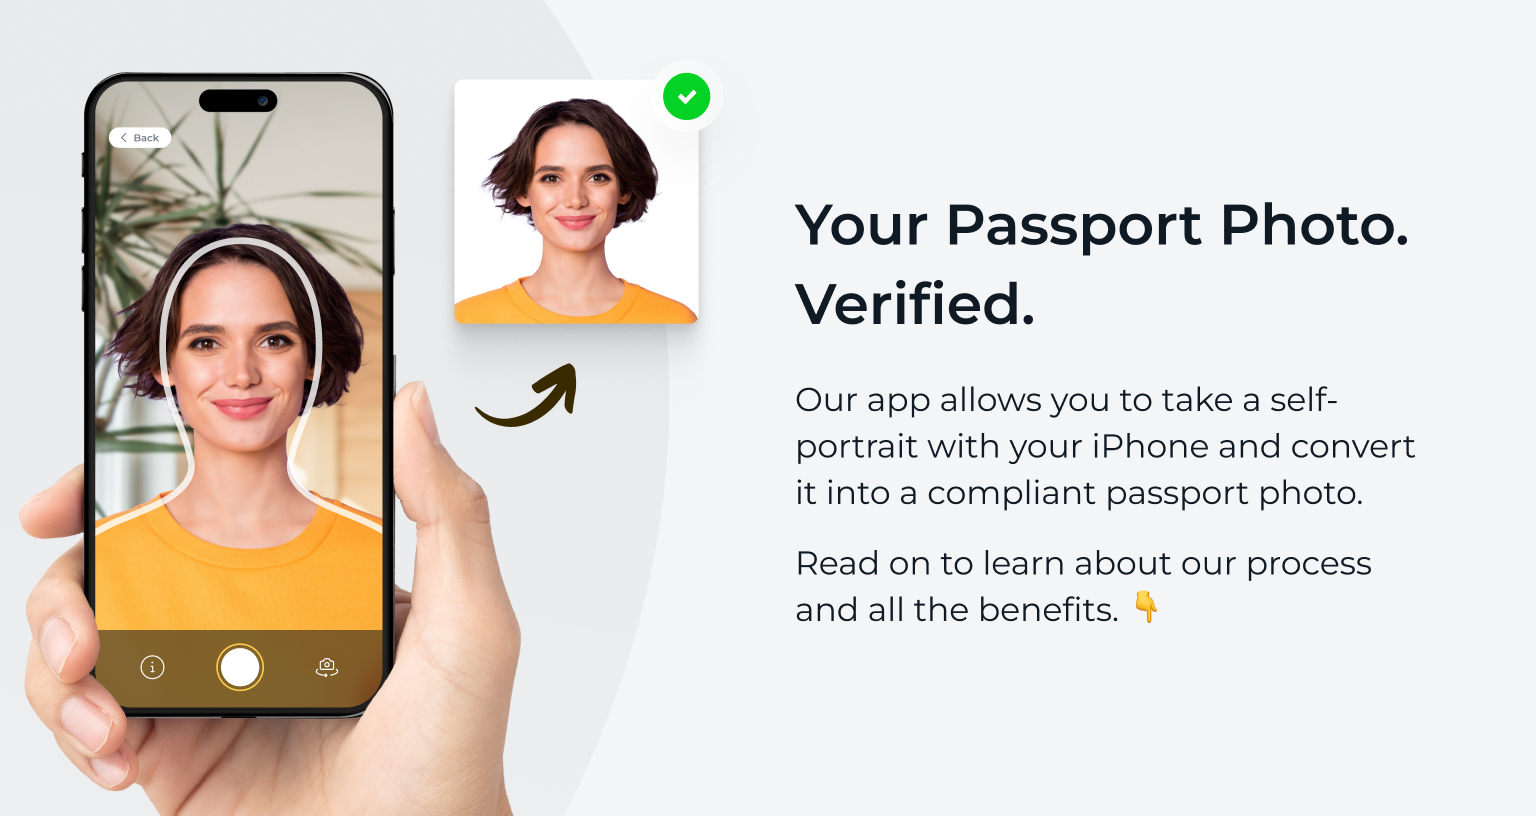
No free tools can guarantee the authorities will accept your DIY passport photo. Thus, if you want to save yourself the trouble and processing delays, Use our passport photo editor, available as the PhotoAiD® app for iOS or PhotoAiD® for Android, and we’ll handle everything for you:
- Our advanced AI will convert your self-portrait according to the technical specs (size, head measurements, white space, background).
- One of our photo experts will manually verify the image against all US passport photo requirements.
The process won’t take more than a few minutes. We’ll instantly email your digital DIY passport photo and a free template for printing passport photos on 4×6-inch paper. If you want high-quality printouts, they’ll be delivered within 2–3 business days (on average).
In the unlikely event that your photo doesn’t pass the official check, contact our customer support team. We’ll either help you take a new photo or offer a refund.
What Are the Don’ts for Passport Photos?
Whenever I have a new task, I like to know what not to do. Luckily, you don’t need to go through the trial-and-error process—we’ve done it for you.
One of our researchers teamed up with PhotoAiD’s photography experts to analyze over 10,000 photos from our users. The goal? To identify the most common reasons for rejecting ID photos.
Based on our study, here are 10 don’ts when taking passport pictures at home:
- Poor torso visibility (33.5%): Photos are too zoomed-in, and upper shoulders aren’t visible.
- Mouth open (21.3%): The mouth isn’t fully closed.
- Uneven lighting (14.7%): The lighting in the photo isn’t consistent.
- Low resolution (13.2%): The photo might be grainy or pixelated.
- Face shadows (10.6%): Shadows obscure facial features.
- Insufficient lighting (9.4%): Crucial facial features aren’t clearly visible.
- Blur (8.3%): The picture is out of focus.
- Side lighting imbalance (7.4%): Part of the face is more lit than the rest.
- Photo of a photo (5.4%): The submitted photo isn’t a digital copy or a scan.
- Unnatural facial expression (4.3%): An open-mouthed or broad smile distorting natural features.
Here’s your answer to the “how to make a passport photo at home” question: Avoid the mistakes above! For visual help, look at our ultimate guide with examples of passport photos.
Tips on Taking Baby Passport Photos at Home
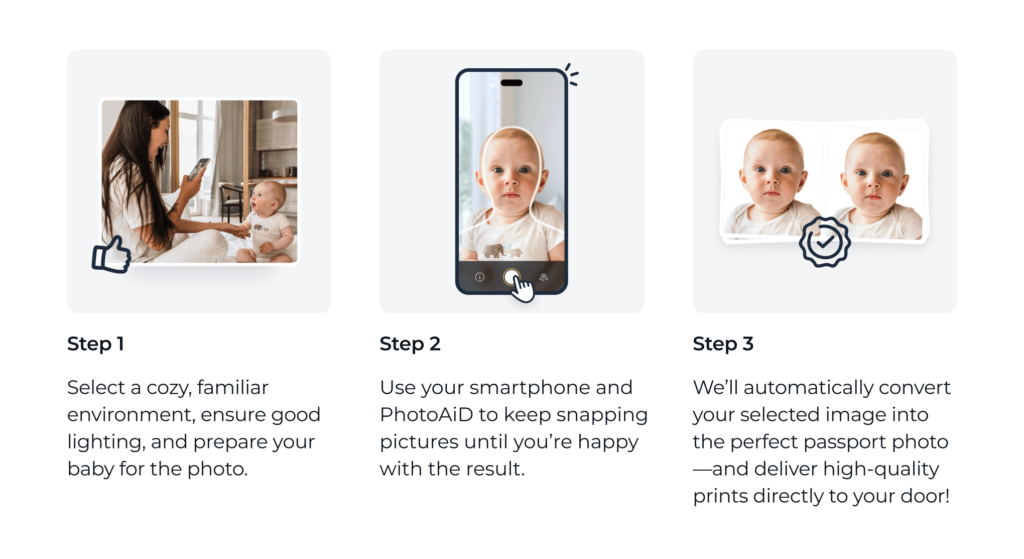
In the first six months of life, infants show stress responses even to minor everyday situations. Thus, it’s a good idea to save them (and yourself) the drama and take a picture for their travel document from the comfort of your home.
Here’s how to do it.
Positioning
Your child must be the only subject in the photo; you can’t hold them. But what if the baby can’t sit independently? You can place them in a car seat (with a white sheet or blanket draped over it). Alternatively, lay your newborn on a blanket on the floor and take a photo from above.
Pro tip: Put a rolled blanket under the baby’s neck to hold their head in place.
Facial expression
Ideally, your baby should keep a neutral facial expression and look directly at the camera. Luckily, the officials know it’s easier said than done, so infants can have their eyes partially closed and grimace (crying, however, is unacceptable).
Here’s what you can do:
- Hold a toy over the phone to get the infant’s attention. It’s alright if their mouth is slightly open in awe.
- Play a cartoon in the background and angle the camera to get a clear shot.
However you decide to get your child’s attention, don’t do anything funny—it’ll make your baby laugh, and you’ll end up with a bad passport photo.
DIY Passport Photo: Can You Do It?
Taking your own passport photos is not only possible but, for many, more convenient.
For me, the biggest advantages are convenience, reliability, and the ability to get passport pictures without leaving the house. All you need is your phone and a few minutes.
Of course, I might be biased, so I encourage you to check out these Trustpilot reviews from busy parents and people with disabilities to see how it worked for them:
Its so convenient for me especially I need to take a newborn photo and doing this at home just make life easier. PhotoAiD did all the hardwork and all I need is just to supply a photo from my end. — Vie (AU)
I am very pleased with the service offered by PhotoAid. The process was simple to use and the photo checking service was so helpful. I am disabled, so being able to do this from home was of great benefit. Thank you — Gill Harvey (GB)
Quick and easy! Able to take and print passport photos in the comfort of my home. This is the 3rd time using (for various family members) and it works perfectly each time. — Tyra Ivy (US)
Getting an passport photo can be a hassle. Our tool makes the process fast, easy, and stress-free. Here’s how it works:

Upload an existing photo or take a new one.

Our AI handles sizing, lighting, and background removal. Then, one of our experts reviews every detail to ensure it meets official standards—24/7.

Download your perfected photo right away, print at home, or order prints with free shipping.
FAQ
Is a phone photo good enough for a passport?
Can I use an app to take a passport photo?
Can I submit a passport photo which I took of myself?
Can I print my own passport photo?
Can I take passport photos at home?
1. Take a self-portrait and upload it into our app.
2. Wait a few seconds for the AI to remove the background, resize, and crop the image.
3. Order a manual compliance check.
4. Choose between a digital picture and printouts.
5. Download your DIY passport photo or wait for printed copies.
Sources:
- https://travel.state.gov/content/travel/en/passports/how-apply/photos.html
- https://travel.state.gov/content/travel/en/passports/how-apply/online-renewal-photo.html
- https://www.ncbi.nlm.nih.gov/pmc/articles/PMC3030888/

Sylwia is a skilled writer with a BA in English Studies and an active SPJ member. For nearly three years now, she’s been writing captivating articles for international companies, turning her lifelong passion into a career.